


In this video, James shows us around the range of COGS hardware you can use to connect hardware into your COGS shows.

In this tutorial, James takes us on a tour of the software side of COGS, and showcases where you can find features, functions and settings within COGS.
James shows us how to connect up inputs & outputs to COGS hardware and how to connect the hardware to the software over a LAN
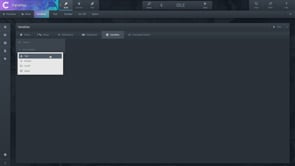
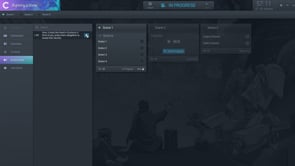
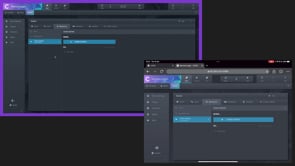
James talks us through how to end a scene in three different ways.
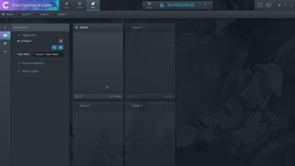
James takes us through the lifecycle of a show and how to create a Pre-show, how to setup Show behaviours and the Scenes that contain your puzzles or interactions.
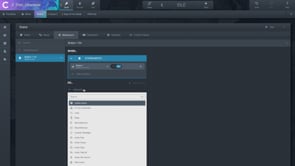
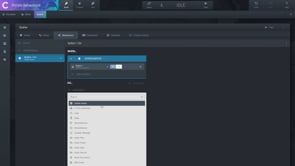
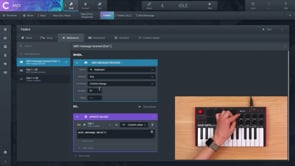
James introduces a very powerful tool within COGS. It gives the ability to create more dynamic interactions and controls over your puzzles/interactions
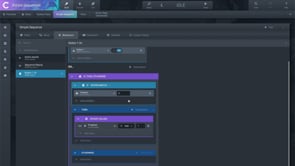
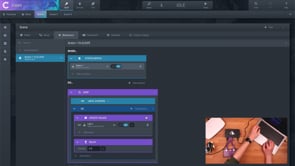
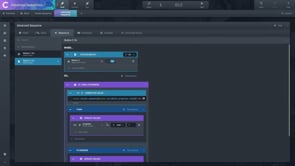
James explains how to build simple sequences which are the heart of many puzzles and interactions
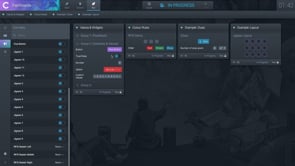
James shows us how to create different dashboard widgets of any info or controls you need, plus how to use colour to make the most effective display for your operators.
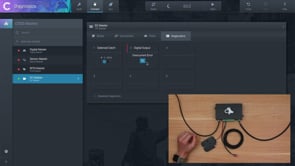
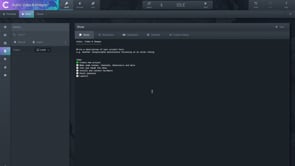
James shows us how to use the Diagnostics view for the Digital Master, Sensor Master, RFID Master, and the DC Master in this tutorial.

James shows us the very basics of setting up a Local Area Network, what routers & switches to buy and how to troubleshoot a firewall.
This is for Gamemasters & Operators. James takes you through all the features you might encounter when operating a show.
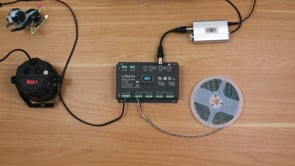
In this tutorial, James explains what DMX is and why you might use it, how to connect up DMX hardware, and how to create DMX states and effects in your shows!
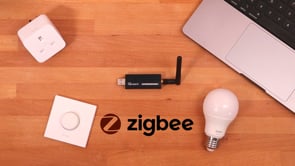
James shows us how to connect Zigbee compatible devices including smart bulbs, smart plugs & wireless buttons.
N.B. This feature will be deprecated from COGS 6.
If you are already using Zigbee, see the ‘Depreciation Plan’ below.
If you are thinking of using Zigbee for an upcoming project, we advise you not to do so and look at the ‘Alternative Solutions' section below.
Deprecation plan
Any existing COGS 5 setup using Zigbee will not be affected, and we will continue to support users who are relying on it for their shows.
We will remove the feature in COGS 6, and this will be accompanied by a warning beforehand to prevent accidentally updating to a new version with a project relying on Zigbee.
From this point on, a show using Zigbee should remain on the last version that supports Zigbee and auto-updates to COGS should be disabled.
Alternative solutions
There are a number of alternative solutions that can be migrated to over time, or used instead for new projects.
Philips Hue
This is available now. Our current Philips Hue pluginallows Philips Hue scenes to be triggered. These scenes are configured via the Philips Hue app and can include the full range of Philips Hue lighting and smart plug hardware (see https://docs.cogs.show/plugins/)
We shall be investing in improving this plugin over time to make the initial setup simpler and to be able to view your scenes directly within the plugin
DMX
For lighting applications (e.g. LED tape), DMX offers a wired alternative which is the industry standard across theatrical installations. For more information on DMX see our tutorial here: https://cogs.show/tutorials/v/dmx
Wi-Fi smart devices
We are currently investigating how to best control Wi-Fi smart devices such as the Shelly range. For venues with good Wi-Fi coverage already, this may prove to be a great alternative.
We are also looking into other alternatives that allow use of Zigbee devices without relying on the USB dongle that COGS currently uses.
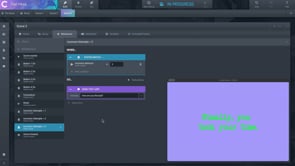
In this tutorial James show us how to use Text Hints in our behaviours, and how to customise and send both pre-set and custom hints to a Media Master display.
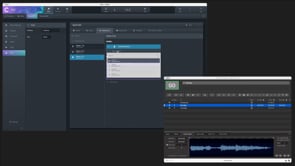
In this tutorial James show us how to use Audio Cues during our show, and how to change the settings to make your cues flow as your show progresses.
In this tutorial, James shows us how to create patch puzzles, and how to wire them to avoid any false positives in your connections.

In this tutorial, James shows you how to set up relays and use them with the Sensor Master as a trigger, but also to control power.

In this tutorial, James shows us how to use Potentiometers in your COGS shows, and how to get multiple readouts from one sensor.
James shows us how to remote into COGS projects over a LAN and the internet using browser tabs.


In this tutorial, James shows us how to create and use Random values, and Random Different values in your behaviours.

In this tutorial, James shows us how to create adaptive difficulty of different kinds for your COGS shows. From stalling players, to choosing the overall difficulty level of the show, James goes into different techniques to achieve this in COGS.

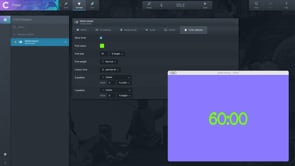
In this tutorial, James show us how to install and use the Timer Helpers Plugin. This allows you to reference the show timer, and trigger behaviours as a result of the timer hitting certain values. This can be useful to create automated time warnings, or consistent beats in every show (E.g. where X happens when there is 32:00 minutes remaining for every show).
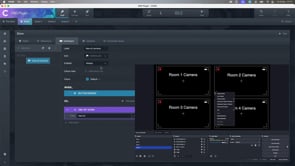
In this tutorial, James shows us how to control camera using the OBS plugin. Whether you're looking to control cameras as part of an interaction, or for your operators, the OBS plugin allows you to show different OBS scenes from your COGS behaviours.
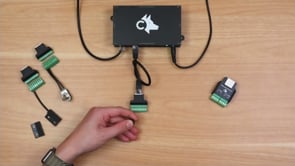
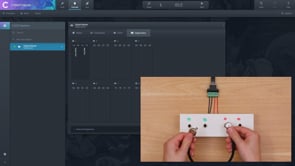
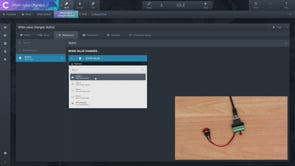
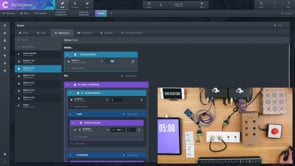
In this tutorial, James shows us how to use Digital Input channels with a Digital Master. Digital Inputs are used to detect contact closure style inputs like buttons, reed switches, toggle switches, etc.
Timestamps:
00:51 - Connecting a Digital Master
04:10 - Adding a Digital Input channel
10:45 - Using Digital Inputs in behaviours
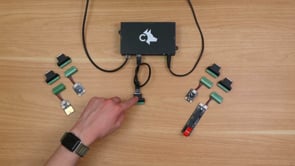
In this tutorial, James shows us how to use Sensor input channels with the Sensor Master. Sensor channels are used for connecting up 5v 3pin sensors, such as IR Beam Breaks, Capacitive Touch Sensors, Potentiometers, etc.
Timestamps:
01:01 - Connecting a Sensor Master
03:20 - Connecting Sensors to a Sensor Master
04:56 - Adding Sensor Channels
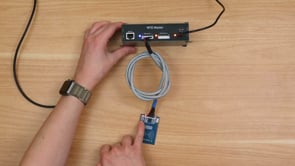
In this tutorial, James shows us how to use RFID reader channels with the RFID Master. RFID readers are used for reading the values of assigned RFID tags to trigger actions in your behaviours.
Timestamps:
01:49 - Connecting an RFID Master
06:52 - Adding an RFID Reader Channel
09:52 - Adding & assigning RFID Items
12:38 - RFID Tips & Tricks
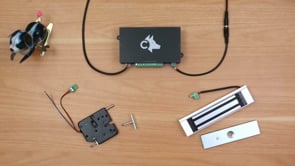
In this tutorial, James shows us how to connect Digital Output channels to the DC Master.
Digital Output channels are used for controlling binary on/off outputs such as, maglocks, solenoid catches, LEDs, etc.
Timestamps:
00:50 - Connecting a DC Master
04:46 - Adding a Digital Output channels
08:53 - Using Digital Outputs in behaviours
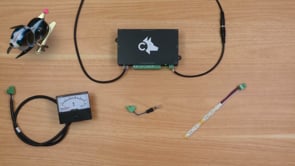
In this tutorial, James shows us how to use Analog Output channels with the DC Master.
Analog Outputs are used for connecting variable outputs such as dimmable bulbs/ lighting, voltmeters, etc.
Timestamps:
01:43 - Connecting a DC Master
05:38 - Adding an Analog Output channel
11:42 - Using Analog Outputs in behaviours
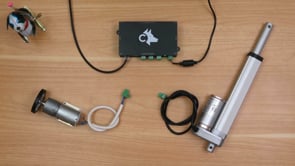
In this tutorial, James shows us how to use Motor Output channels with the Motor Master. Motor outputs are used for pushing linear actuators or powering DC motors and can be used with the Motor Master to operate them in 2 directions (In/ Out, Open/Closed, etc).
Timestamps:
00:30 - Connecting a Motor Master
04:21 - Adding a Motor Channel
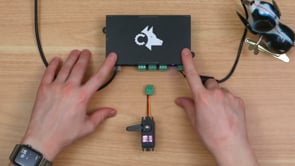
In this tutorial, James shows us how to use Servo output channels with the Servo Master. Servo outputs are used for controlling servo motors for using in props like the hands of a clock, a robot's head, etc.
Timestamps:
00:44 - Connecting a Servo Master
03:25 - Adding a Servo Channel
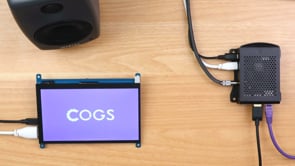
In this tutorial, James shows us how to connect up the Media Master to a speaker for audio, a monitor for video/ images/ text hints and more, and also how to use the Media Master for displaying custom content.
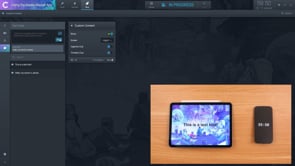
In this tutorial, James shows us how to use the Media Master App on tablet and mobile devices to play audio, video, display text hints, timers and run Custom Content.
Download:

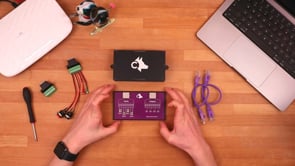
In this tutorial, James shows us how to use the Isolated Breakout with COGS, connecting into an Arduino or other micro-controller, a 12v sensor, and an off-the-shelf prop.

In this tutorial, James show us how to assemble, configure and use our Actor Assist system and get your own installation set up.
Additional Resources:
Article: Actor Assist: Hardware Assembly
Article: Actor Assist: Software Setup
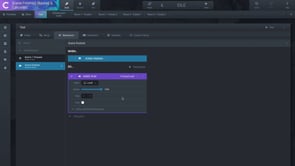
This is a pre-record of our race-against-the-clock demo for RECON Remote 2025 where James attempts to build a mini escape style game in 10 minutes.